Showing posts with label Recycled. Show all posts

Tuesday, April 2, 2013

Journal Covers-a-Go-Go

In a previous post, I chronicled my exploits cutting stencils, fairly complicated, fiddly stencils. Whenever I start doing a project, I tend to go for the most complicated thing possible to start, then I work my way to the easy stuff.  True to form, I did that with stencils. The easiest stencils you can made are the ones where you take a strip of thin cardboard from some packaging, fold it in half, and cut shapes in it. Well, maybe even cheaper is to take those same strips of cardboard and punch holes out of it with a paper punch. To do that, you need to make sure your cardboard, or whatever you use, is not too thick. Here is a sampling of the ones I made:


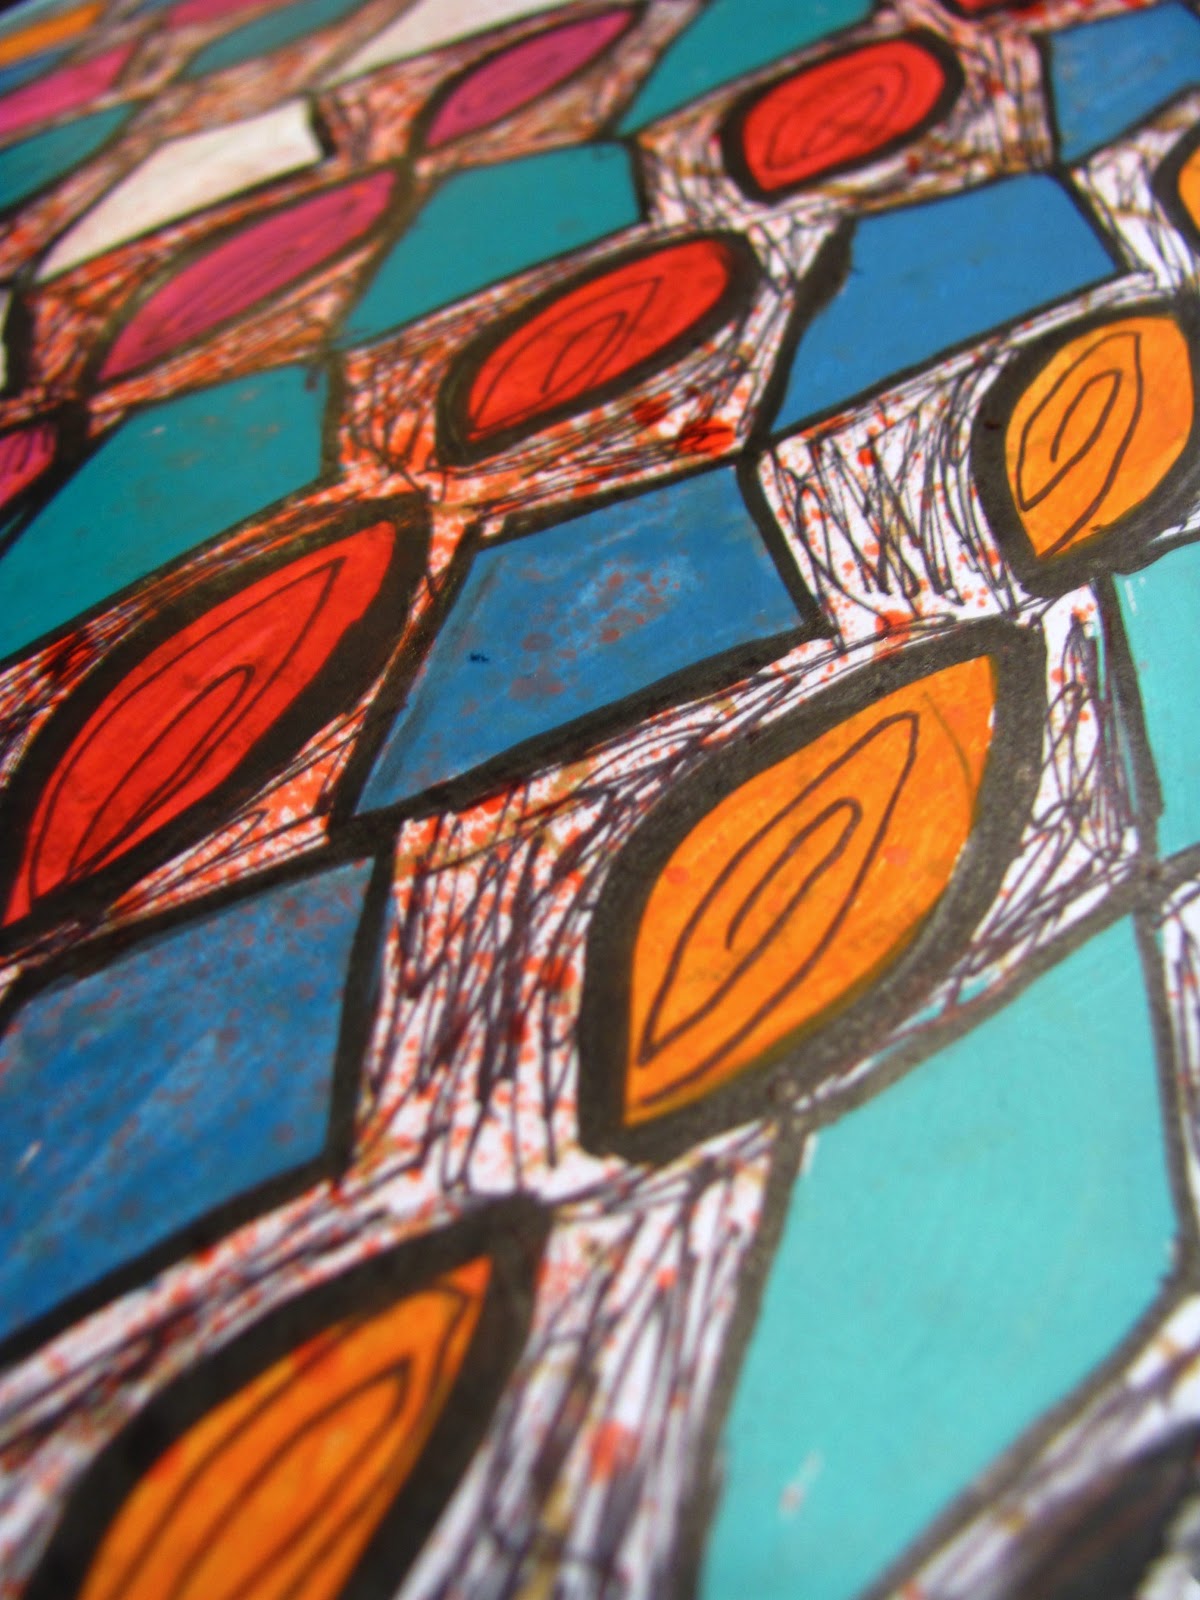
I used these stencils in a couple of different ways to create two very different, distinctive journal covers. For the first, I traced the designs down the page, painted them with craft paint, then did outlining and marking with technical pens.


I like that it looks like a woodcut from the 1950s or '60s.
Looks even better close up!
The other way I used the stencils was to just go crazy with a few colors of paint and a makeup wedge. I just pounced and pounced until I felt I was done, and then I pounced a little bit more. Then, I took a stencil I hadn't been using (the stars) and colored in the shapes with a white gelly roll pen. I almost forgot, I traced the circles in Inktense Pencils to try to give more contrast. I am not sure it was that successful, but it doesn't really take anything away from the page.


I am finding these stencils of simple shapes very versatile. There will definitely be more to come in the future. They can be used in an overall design, as an accent, or as texture. They can be used with paint, pencils, markers, dabbers, sponges, pastels, or anything else you have laying around. Ad the best thing about it is that you are using materials that are readily available, no extra purchases necessary. And don't forget you are recycling!

One more cover to add, but this was done freehand.

Yes, this was done on materials I received from the doctor before my sinus surgery. If you have any kind of paper, you have a journal surface!

Monday, February 4, 2013

Paper Grocery bag Journals

I managed to finish my dvd digitization project, at least, as much as I can do without additional software. Whew! This is just the sort of project made  for lengthy periods of unemployment. I still need to finish cataloging them in iTunes, so I can find them more easily. As I mentioned, I also planned to try to finish organizing my studio nook and I wanted to make art journals from the paper grocery bags I started preparing.  I did do some organizing, but I am far from reaching a good point. My cat is enjoying the chaos, as it is next to his little nesting cube. In his opinion, the rattier the better. I do not feel the same, so it will be a project I will continue over the week.

I did not completely finish making books from bags, but I have a fantastic start.  A week or so ago, I started the process by folding the bags the way they are folded naturally, and folding the front and back edges together, at the base. Cut off the very edge, where the two sides meet at the base. This does half the job of cutting off the base. From here, you will cut the rest of the base off and set aside, I plan on doing something with them. Gelatin prints? Hmm... Flatten the rest of the bag. I cut it open at the right-hand fold. It doesn't matter which edge you cut, if you do not care if the writing is not right side up. I did have a nice, neat stack, but Sid had other plans.

Sid has the bags arranged the way he likes them.

 Six of the bags were one size, and the other thirteen a couple of inches larger, so I used the 6 smaller ones for this project. I am thinking, right now, that I would like to make a large soft covered journal for the rest. That may change. While straightening up my art supplies, I decided to liberate  my cute little pink mini sewing machine from its box and display it. I think it is the perfect size to do stitching on paper, if all I want is to straight stitch. If only it also had a zig zag stitch. <sigh> The box is a great size for the kind of journal where you tie in a bunch of stitched signatures onto a wide spine, so I played with that for a bit, cutting off edge pieces, taping a side flap on the front cover and a top flap on the back cover. I taped all the edges so they were clean. All I need to do now is cover the box with pretty paper and put notches in it to tie in the signatures.

I decided, after some fiddling, that the cover would be perfect for a grocery bag journal. I folded the paper bags in half, lengthwise, then cut at the fold. I just tore along a yardstick, because I wanted a rougher look. Besides, I am a terrible cutter. Tearing always comes out better for me. Cut with scissors, or a slide cutter if you have one large enough, if that suits you better.


 I then cut each of those pieces of bag at the fold on the side. They were still a little too long for my cover, so I trimmed them. I found if I cut a strip of the bag off where it already folded, I had the perfect size. I folded them in half and made signatures, using three pages apiece. I ended up with eight signatures, the perfect size for this little sewing machine box cover.

The not-yet-put-together prototype of my little art journal.


 I am also going to make a little book from the strips I cut off my pages. I am thinking of something akin to a modified soft cover saddle stitched book (stitched like a composition book).  Or I may just experiment with the kind of book that sews together sewn signatures.  It is a small, manageable size. Why not?


 This kind of project is the perfect kind to do while watching YouTube videos, or avoiding the Super Bowl, lol. So what, I didn't do all three things I hoped to accomplish. I did one, and half of the other two. Two out of three ain't bad, right?

Wednesday, December 26, 2012

A Fun Way to Use Eggshells

I have accomplished a lot of creative things for the past couple of days, but I have prepared two books to be altered into art journals and I made eggshell mosaics. Gluing pages together is not an exciting thing to see, but the eggshell mosaic experiment is pretty neat. Being my first time, I would have done a few things differently. Even so, a nice look is almost foolproof.

A few people have asked me, what is an eggshell mosaic. It is pretty simple. You find a surface you want to cover, paint a basecoat on it, brush on an adhesive, and crush pieces of cleaned eggshells, outer side up,  onto the glue. When it is on the adhesive, you ca add more cracks by pressing down with a toothpick, skewer, or pencil eraser,  until it looks the way you want it to. You keep doing this until the surface is covered. When that is dry and you straighten the edges, use a dye, ink, or stain of some sort to create color. I used a felt pad to dab a magenta alcohol ink all over mine, then strayed with very strong coffee. That didn't quite do it for me, so I dabbed on some black acrylic ink, sprayed with alcohol, wiping off the excess. I kept playing with it until it looked the way I wanted it to.  What will happen is most of the color will sink into the cracks. The eggshells may be stained, depending on what types of inks or dyes you apply. When it is completely dry, coat with your favorite varnish. I would venture to say embossing would be a nice clear coat. I used 2 coats of Diamond Glaze.

Here are the results.


Overall, I am pleased with the outcome, but I would do some things differently:
  • The surface I used was one that was painted in a way I didn't like. It would have been better had I did a nice coating of black paint. I ended up having to take a Black Sharpie to a lot of gaps because the color showed through and didn't look so nice. Sharpie will smear when varnishing, so be warned. It actually worked toward the effect here, but it is better to do it the easier way.
  • The reason I had to use a Sharpie in the first place was because I did not completely cover my surface with eggshells. In the future, I will make sure that I do.
  • I used a gel medium as my adhesive, which was extremely thick. I would not recommend using a pasty adhesive. It was a little icky. Instead, I will probably use a bit more than a thin coating of Elmer's glue in small patches. That way, there will be a minimum of fuss and the glue will not dry before you are finished with the eggshell. Completely covering each glued section with eggshell before moving on is a good way to avoid large gaps. 
  • Whatever color you use on your piece, make sure it is very thin and watery. The acrylic ink was a bit thick, not the viscosity, but the pigment. It completely coated my surface. That is why I ended up spraying with some alcohol. When you do that, some of the ink may come off, so there is a lot of experimentation involved, not necessarily a bad thing. At one point, I thought it looked like a pink lizard! 
  • If your surface is cardboard or paper, you will be able to cut it into shapes with scissors, but I would make sure they are in the shapes you want before moving on. I would be too nervous punching them or trying to cut with a slide paper cutter. run them through a slide cutter.
I think it would be super cute to make a flower out of thick paper covered with eggshell mosaic. I am not sure how I am going to use the ones I completed, but I am excited to do more. Everything I used was found around my house. and the base and eggshells were things that would have ended up in the trash. If I was feeling ambitious, I could have even made natural dyes from stuff in my kitchen. There are lots of instructions on the web for doing that. I like crafts that make me feel good about myself!

Tuesday, December 18, 2012

Stencils and Foil Beads

 My Versa Tool came in the mail yesterday! Today I played with it and created 2 stencils. It was very easy.  I traced an image on a sheet of transparency film using a fine tipped Sharpie. Once my Versa Tool (basically, a woodcutter with several interchangeable tips) heated up,  I cut lines into the plastic, being careful to skip occasionally so my design didn't fall apart. I decided to wing it rather than plan my stencils out. That probably wasn't the best idea, but it seemed to work anyway. The tip I used was a little on the the thin side, so I am going to retrace my lines using a thicker tip. I have seen many people advice people to use a sheet of tempered glass to cut a stencil out this way, but I used an old sheet of book board because it was what I had. It worked pretty well, although I am putting the tempered glass on my wish list. I like that it isn't completely crisp and straight. The lines are a little shaky, which gives it more of a homemade look.

Another thing to remember is to NEVER, NEVER EVER lose sight of the fact this is a raging hot tool. I was careful to keep it in its stand, but in a moment of foolishness, I grabbed it by the end to move. Argh! Not my finest moment. So far, this is the least unpleasant burn I have ever had on my fingertips. I made a German pancake a few years back and forgot that the pan had been in the over and the handle was blazing. That was agony. I will have a nasty scar on my thumb, but I will be okay. Let that be a lesson to you all. 

I also made some aluminum foil beads, idea courtesy of Jennibellie, of course. Her sheets of aluminum foil were painted on both sides with acrylic paint, leaving some of the foil unpainted. Then, she cut into strips and squished them tightly into balls, pierced a hole with a toothpick, then coated with a mixture of PVA glue and varnish.  She didn't like Diamond Glaze for this because of it was too thin for her liking. She is in the UK, and I don't know how similar to plain old white glue PVA glue is, but that is what I used. I mixed it with some Diamond Glaze to see how it would work. The beads are not completely dry yet, but they do not really look very glossy. I may do another coat, just with Diamond Glaze. 

 I feel I am living on the edge using Diamond Glaze because the last time I played with it, this happened.
Most of the paper beads I painstakingly cut and rolled and glazed became stuck to the toothpicks. Uncool. I keep meaning to come back with a tool and try to drill out the holes, but it doesn't sound very appealing to me. I am hoping my foil beads don't do the same.

Sadly, my experiment with the molding glitter glue into cabochons was a failure. The few that had glitter coating the bottom were somewhat salvaged by cutting the mold out. My cabochons will just include the mold. I am not sure if I will try this again. If I do, I will fill the molds with glitter and them use something harder. Maybe Diamond Glaze? Hot glue? I will also grease the molds before filling at all. I guess this is the reason we do experiments. They cannot all turn out like one hopes. What kind of experiments gone bad have you experienced? Drop me a line and we can have a laugh.

Monday, December 17, 2012

My First Bound Journal!!

I finally put together my assorted pieces of junk mail and packaging into a bound journal! Yay! The colors are crazy and I have a lot of work to do. This is just a base for future journaling material. It is only my first attempt, so please don't judge me harshly.


As an added bonus, I took some photos of other pages I have been furiously painting. These are mostly my waste paint papers. They look awesome! It is time to turn the one on my table around to I can cover the rest of he part that actually taped onto the surface. I have a bunch that is hanging over the edge, so this is going to end up one giant, wonderfully crazy piece of paper.


These are Jello boxes I cut up that I am using to throw waste paint on. Some of them look like ink blots. They will either end up as part of a mini album, as tags, or as postcards.

This is more reminiscent of my usual style. I do more stuff with clean lines than not, so most of what I have been doing is way outside my comfort zone.

A nice, subtle base for something.

I love this! Eyes have been a common theme in my work since I was a teenager. I realized I have 4 or 5 rubber stamps of eyes, all but one I carved myself!

I think this may have been the first thing I painted when I finished gessoing stuff.

I love this, too! This one and the one with the eyes are tied for my favorite. I used an arches stencil and did a lot of spraying with alcohol and dabbing. Then, I took a tiny rubber stamp I made of a cherry blossom and sprinkled them throughout the page.

This is crazy and dark, but I like how it turned out, too.

A bonus Zentangle! I painted the page above on the back side. That is why it is a little mottled. I had another one that I completely painted over. It isn't bad, but it isn't one of my favorites.

Please let me know what you think, so I know that actual people visit my site. And Happy Birthday to my Mom!! Until next time...

Friday, December 14, 2012

Even junk can be pretty

I spent this evening cutting some junk mail and bits of stuff I had laying about. I decided to cut and some small circles out for little pulls on the pages, if I choose. The painting was a little of a hot mess. I realized I probably should have painted the cardstock before cutting the circles out. They were a little hard to work with, as they blew around when I tried to dry them with a hairdryer on its lowest setting, as far away as my arm could get from the wet paint and still be close enough to dry. Lesson learned. While that was difficult, the drop paper I was using looked awesome. I have been following Jennibellie's tip to brush/stamp/ blot any excess paint onto a large sheet of paper that you use as a drop cloth. I have tons of craft paper that had been used as padding in some packages I received, so I have been using those. So, having painted all I was going to be able to tonight, I decided I would go a little crazy with the paint that was left. Here are the results. Sorry the quality isn't better. It was hard to get good light without glare on the metallic paint. The compromise was that in a couple of photos you can tell there is a dark coppery color, on some it looks like a yellowish brown.


I already had a little bit of an underpainting from brushing off and stamping excess paint from something I did last week. So when I was finished playing and the paint had dried, I used a Sharpie to give a little definition and added character. Not bad for a bunch of paint that would have been washed down the drain, huh? Now, I have some unique paper to use when I start actually art journaling and making books.